
Atavism Client (Unity) Installation
Last updated
Last updated
Preparing the Unity project to work well with Atavism is pretty simple and it contains just a few steps. After you will import Atavism for Unity package you should follow these few steps to adjust your project to work well with Atavism.
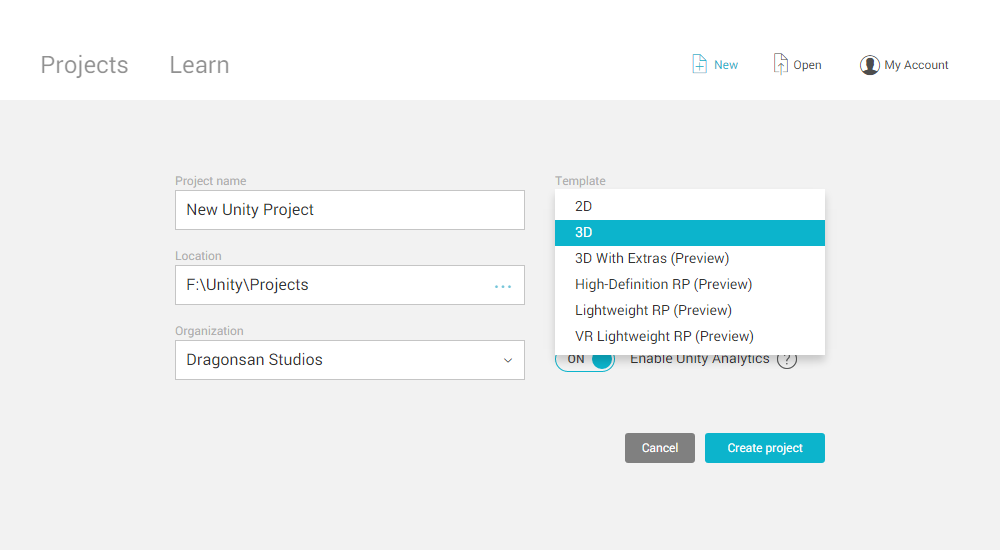
Note: if you are creating a new unity project, use the default 3d project.
1. If you are going to use Unity 2018.x or 2019.x with Atavism 2018.x then you will have to remove TextMesh Pro integrated by default with Unity 2018.2, by heading into Window->Package Manager, select TextMesh Pro and click Remove button in the right corner. It’s because Unity recompiled DLL file and you would lose all your references to TextMesh Pro in the canvases.
Important Note: If you are using Atavism Atavism 2019.x then keep the default TextMesh Pro, which is part of the Package Manager as we migrated the whole UI to the Package Manager version.
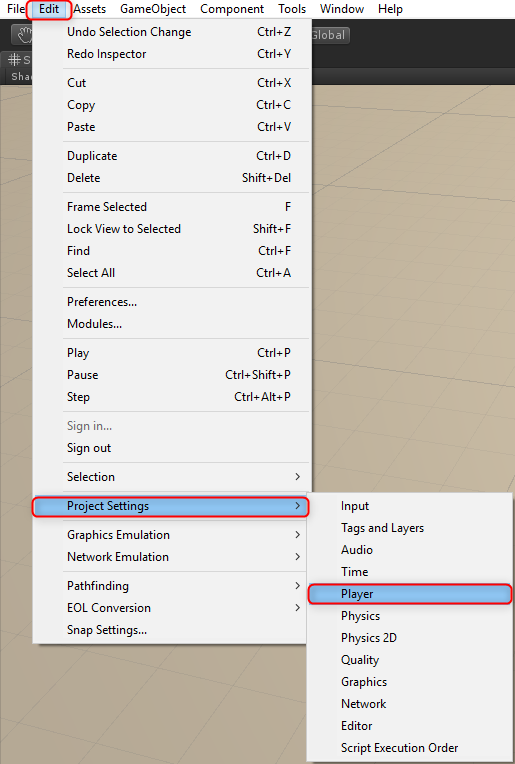
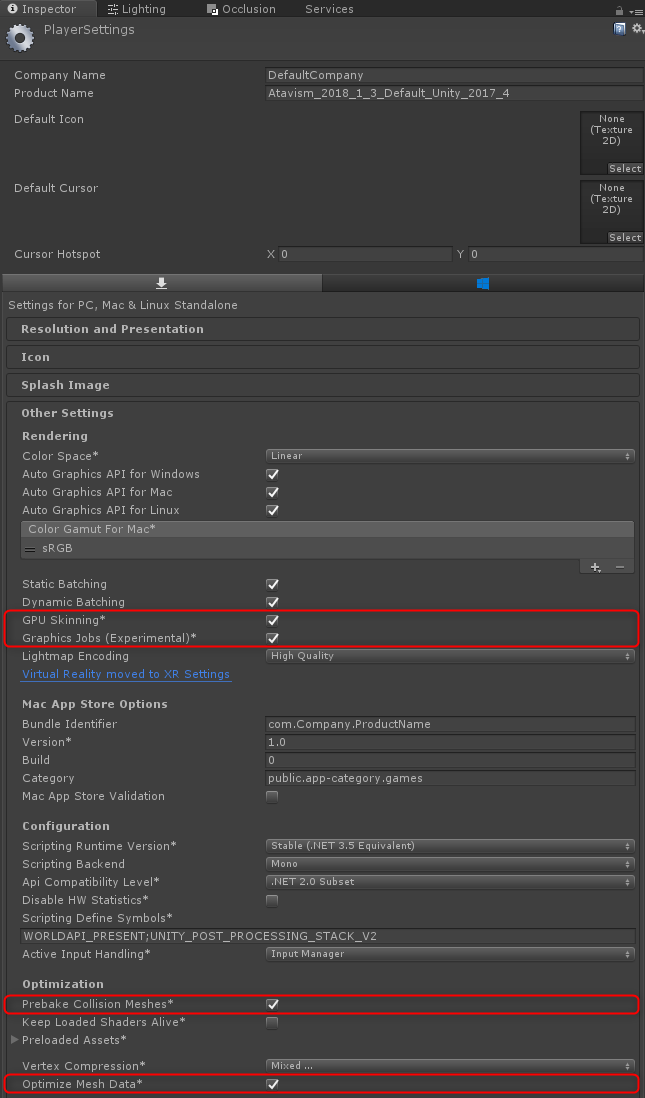
2. Set Color space to Linear, of course, it’s an optional step, but if you want to make our demo looks properly you should set it. In order to do that just click Edit in the top menu section and then Project Settings and Player.
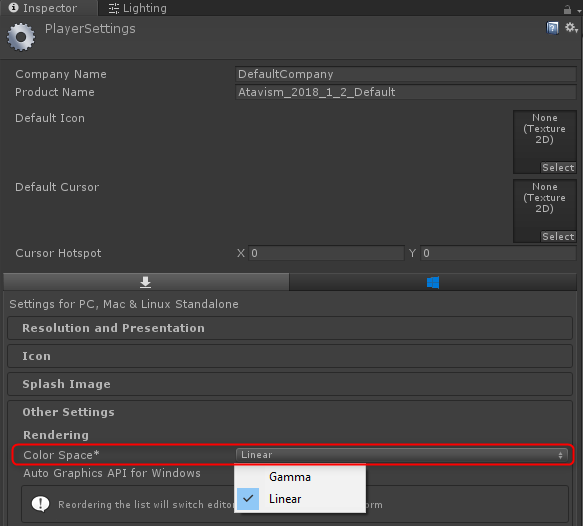
In the Inspector you should see some options and among them, you should see Color Space option, set it to Linear as on the screen below.
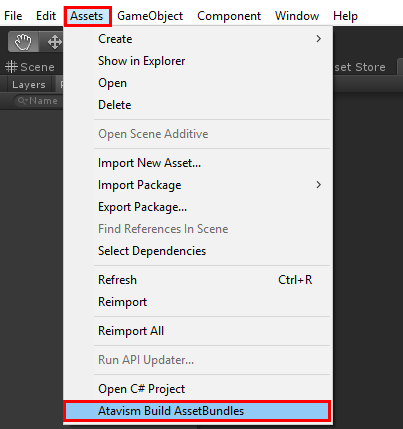
3. Rebuild Asset Bundles for Bomber Bug models (if you will skip this step your models will be pink during the gameplay).
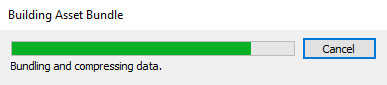
So in our case directory Assets/AssetsBuildBundles is already marked as Asset Bundle called: infinitypbr, but because asset bundles require to be rebuilt each time we will change Unity version we have to rebuild them. To do that go to Assets menu and select Atavism Build AssetBundles option.
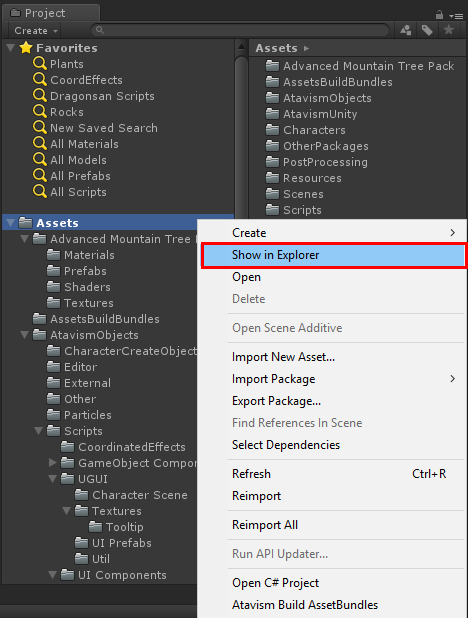
Building Asset Bundles will start, what is also worth notice is that if nothing changed since last asset bundle build then Unity won’t rebuild, so it will also speed up Your development process by making builds faster. Now You have to navigate to Your project directory and find AssetBundles folder, You can do that by pressing RMB (right mouse button) on the Asset directory and choosing option Show in explorer.
Then in the newly opened window, You should see the directory called: AssetBundles, enter it and find Your asset bundle file names. There should be 2 files with the same name, one without an extension and second is manifest one. You have to copy the file without extension to the Assets/StreamingAssets directory in Your project.
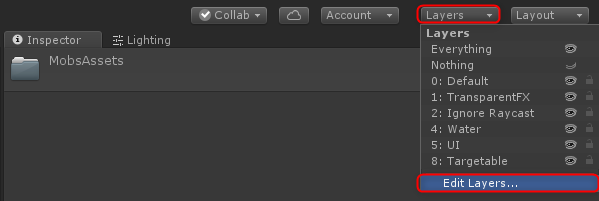
4. Add Targetable layer into your Unity project.
In order to do that just click the Layers button in the right top section in your Unity Editor and chose Edit Layers…
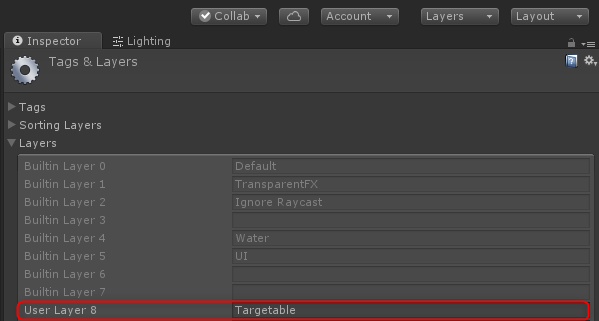
and add the Targetable layer to User Layer 8 as presented in the image below.
Now your project is ready and you can move further with your development.
5. For performance reasons you may also want to enable some optimization in the Edit->Project Settings->Player
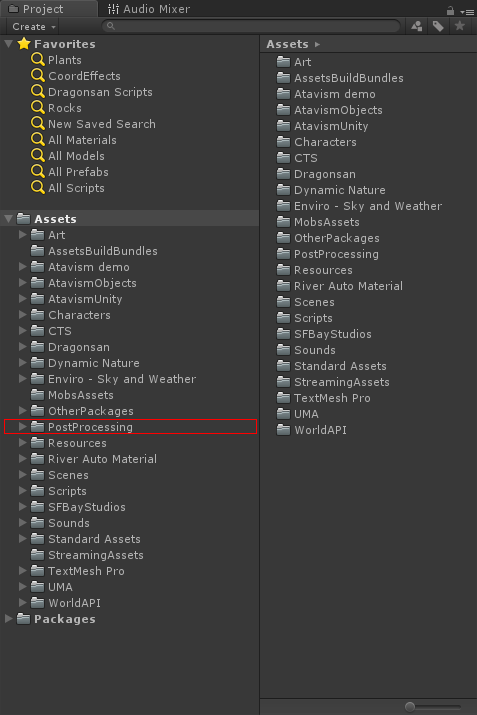
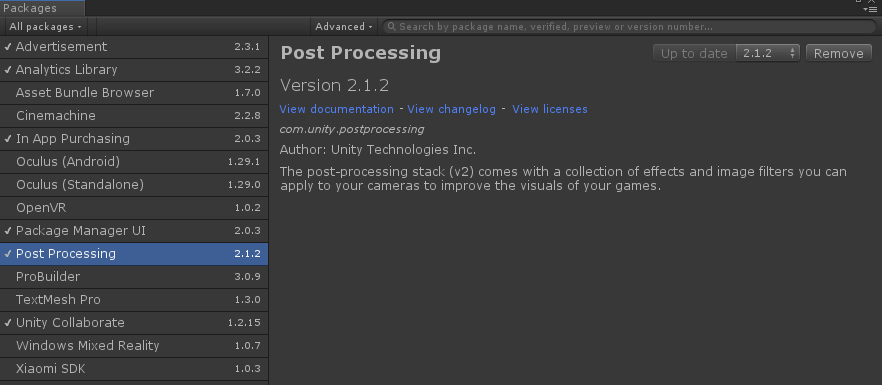
6. If you are using Unity 2018.3 then you should also remove Postprocessing directory from the project,
and import the Post Processing from the Package Manager
7. If you are using Unity 2018.2, 2018.3, or 2019.1 with .NET 4.x then you should also remove these two libraries. In Ataivsm 2019.1 because of directories and files were reorganized System.Data and System.Drawing are located in Assets/Dragonsan/AtavismEditor/Editor/Interface.


